


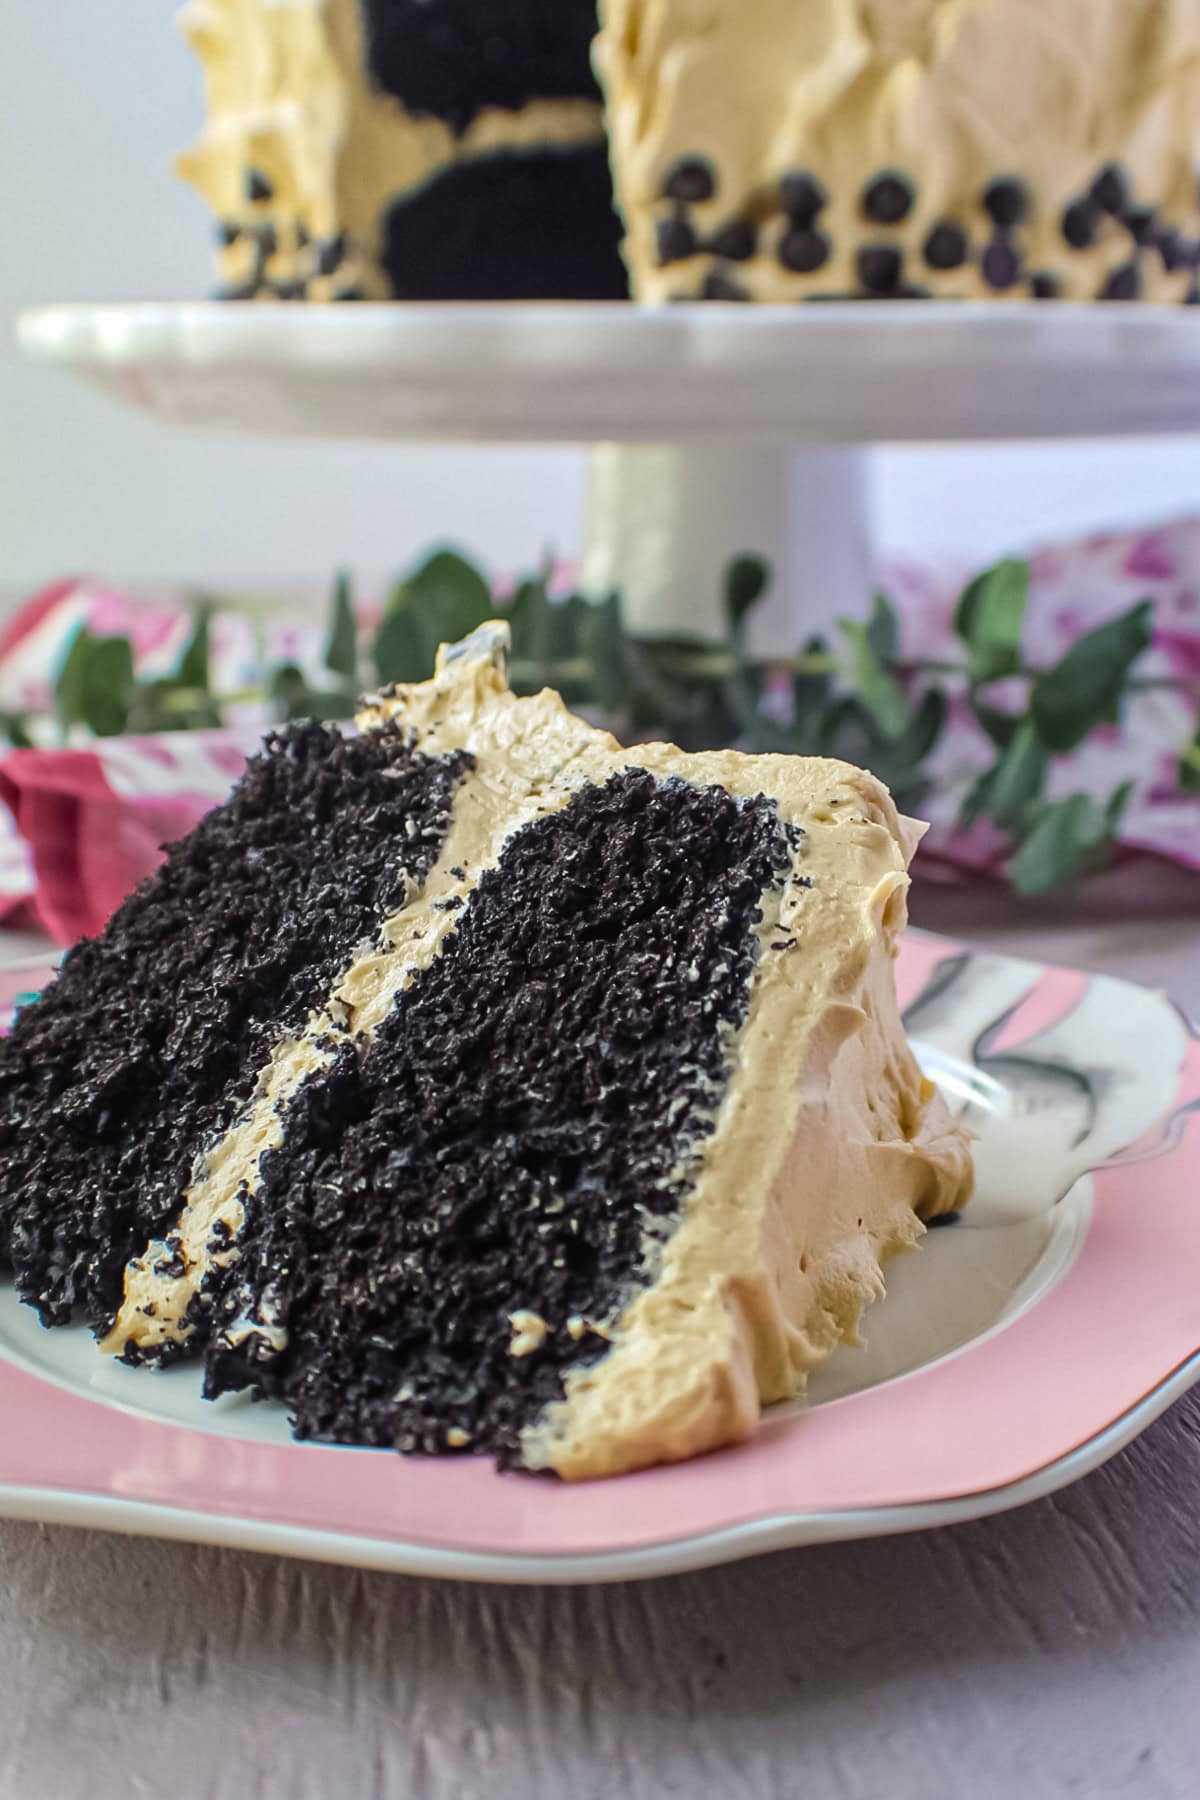
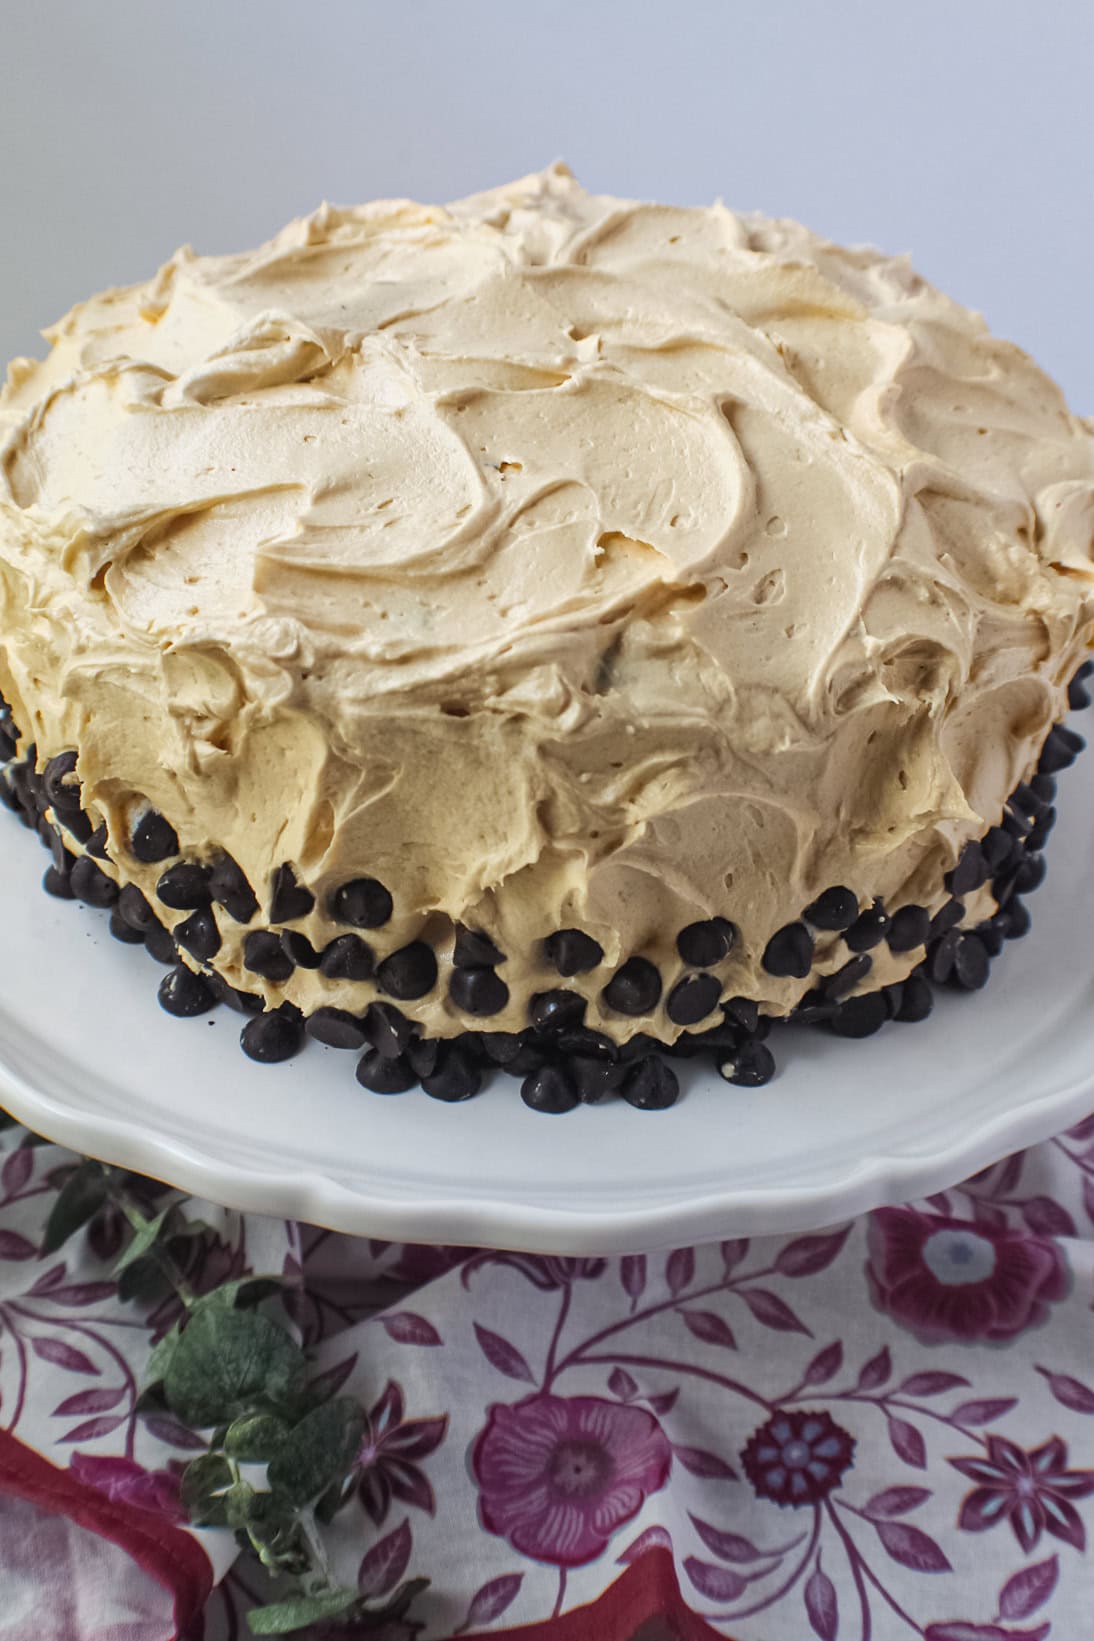
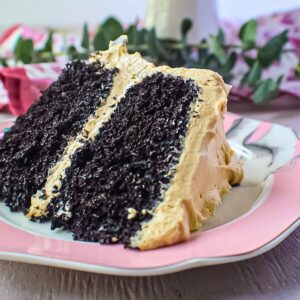
Looking for the ultimate chocolate cake recipe that's rich, tender, and topped with the creamiest peanut butter frosting ever? This Moist Chocolate Peanut Butter Layer Cake is the dream dessert for chocolate and peanut butter lovers. It features deeply chocolatey black cocoa layers and a luscious, salty-sweet peanut butter buttercream that makes each bite unforgettable. Perfect for birthdays, special occasions, or weekend baking therapy!
For more easy yet impressive desserts, try our apple cider donut cake and brown butter pistachio chocolate chip cookies recipes next!
Why You'll Love This Cake
- Soft and rich chocolate layers thanks to black cocoa and buttermilk.
- Balanced peanut butter frosting. Not too sweet, just the right amount of salt.
- Beginner-friendly technique that results in a professional-looking cake.
- Great for making ahead. The flavor improves the next day.
- Can be customized with espresso, mini chips, or ganache drizzle.
Ingredients You'll Need (with Easy Swaps)
This cake is made from simple pantry staples, but it delivers serious wow factor. Here's a rundown of what you'll need to bring it to life, plus a few easy substitution ideas if you're missing something:
For the Cake
- Cake flour is the key to a super tender crumb. It has a lower protein content than all-purpose flour, which makes your cake soft and fluffy. No cake flour? You can make a quick substitute by mixing all-purpose flour with a little cornstarch (just Google "cake flour hack"; It works in a pinch).
- Granulated sugar adds sweetness and structure. Nothing fancy here, just good old white sugar does the job.
- Black cocoa powder gives this cake its dramatic dark color and rich, Oreo-like flavor. Can't find black cocoa? Dark cocoa or Dutch-process cocoa powder will still give you great depth.
- Baking powder and baking soda help the cake rise and stay light. The combo reacts with the buttermilk and coffee for a nice, fluffy texture.
- A pinch of salt rounds out the sweetness and balances all the flavors.
- Buttermilk is what keeps the cake moist and tender with a subtle tang. If you're out, mix regular milk with a splash of lemon juice or vinegar and let it sit for a few minutes for easy homemade buttermilk.
- Vegetable oil is what gives this cake its ultra-moist crumb. Canola oil works too, or even melted coconut oil if you want a slight coconut note.
- Eggs help bind everything and provide richness. Room temperature eggs are best; they mix in more evenly.
- Vanilla extract adds warmth and enhances all the other flavors.
- Hot brewed coffee deepens the chocolate flavor without making the cake taste like coffee. It also helps "bloom" the cocoa powder, bringing out its full richness. Don't skip this step. It makes a huge difference!
For the Frosting
- Unsalted butter is the base of the soft and creamy frosting. If you're using salted butter, just reduce the added salt a bit.
- Creamy peanut butter gives the frosting its star flavor. Go for a no-stir brand like Jif or Skippy for the smoothest results. Natural peanut butter can separate and make the frosting tricky to work with.
- Powdered sugar sweetens and thickens the frosting, making it fluffy and stable.
- Vanilla extract adds depth and a little extra sweetness.
- A pinch of salt balances the richness and brings out the peanut butter flavor.
- Buttermilk helps loosen up the frosting to a perfectly spreadable consistency. You can also use regular milk or even cream if that's what you have on hand.
How to Make This Chocolate Peanut Butter Cake
Don't be intimidated by the layers. This cake is easier to make than it looks, and totally worth the effort.
Prep Your Pans
Start by preheating your oven to 350°F. Grease two 9-inch round cake pans with butter, line the bottoms with parchment paper, then butter the parchment and dust the pans with a little cocoa powder. This will help your cakes come out clean and keep that deep chocolate look on the sides.
Mix the Batter
In one bowl, whisk together your dry ingredients-flour, sugar, cocoa powder, baking powder, baking soda, and salt. In another, mix the buttermilk, oil, eggs, and vanilla. Combine the wet and dry ingredients until mostly smooth, then pour in the hot coffee and stir until you've got a thin, glossy batter. Don't worry, it's supposed to be runny!
Bake and Cool
Divide the batter between your pans and smooth the tops. Bake for about 25 to 30 minutes, or until a toothpick poked in the center comes out clean. Let the cakes cool completely in the pans before moving on. (At least an hour. Grab a snack or start the frosting.)
Make the Frosting
In a stand mixer or large bowl, beat the softened butter and peanut butter until creamy. Slowly add the powdered sugar a bit at a time so you don't end up in a sugar cloud. Stir in the vanilla and salt, then add just enough buttermilk to make it soft and spreadable. Give it one final whip until light and fluffy.
Assemble and Decorate
Once the cakes are cool, remove them from the pans and peel off the parchment. Trim the tops if needed to make them flat. Place one layer upside-down on a cake plate, add a thick layer of frosting, then place the second cake (also upside-down) on top. Spread a thin layer of frosting all over the cake to lock in crumbs. This is your crumb coat. And pop it in the fridge for an hour.
When the crumb coat is set, frost the cake with the rest of your peanut butter goodness. Want to get fancy? Use the back of a spoon or spatula to make soft swoops and peaks. You can also press chocolate chips or chopped peanuts into the sides for extra flair.
Pro Tips for Nailing This Cake
- Use room temperature ingredients for the batter and frosting. Cold eggs and butter don't mix well and can mess with the texture.
- Don't skip the coffee. Even if you're not a coffee drinker, it doesn't make the cake taste like coffee. It just makes the chocolate taste deeper and richer.
- Trim your cake layers. A quick level with a serrated knife makes stacking so much easier and helps your final cake look clean and professional.
- Crumb coat first. That thin first layer of frosting is a game-changer. It catches all the loose crumbs so your final layer goes on super smooth.
- Chill the cake before final frosting. This gives everything a chance to firm up a bit and makes decorating way easier.
Storage Tips
- At room temp: Leave it covered on the counter for a day or two if your kitchen isn't too warm.
- In the fridge: Wrap it well or store in a cake container, and it'll keep for about 4 to 5 days. Just let it sit out for 20 to 30 minutes before serving so the frosting softens up again.
- Freezing: You can freeze the frosted or unfrosted cake. Wrap the layers tightly in plastic wrap and foil, then pop them in the freezer for up to 2 months. Thaw overnight in the fridge, then bring to room temperature before serving.
Cake Variations to Try
Want to switch things up? You've got options.
- Add espresso powder to the batter or frosting for an extra hit of bold flavor. Chocolate + espresso is always a win.
- Swap the frosting for ganache or chocolate buttercream if you want to lean more into the chocolate side of things.
- Use mini chocolate chips or chopped roasted peanuts between the layers or pressed into the sides for texture.
- Make cupcakes. This recipe works great as cupcakes, too. Just reduce the bake time to 18 to 20 minutes.
- Turn it into a sheet cake if layer cakes aren't your thing. Pour the batter into a 9x13 and bake for 35 to 40 minutes. Same great flavor, less fuss.
FAQs
Can I use natural peanut butter in the frosting?
Not the best idea. Natural peanut butter can separate and make the frosting oily or too soft. Go with something creamy and shelf-stable for the best texture.
What's the deal with black cocoa?
Black cocoa is super dark and smooth, almost like the flavor in Oreos. It gives the cake that deep color and rich taste. If you can't find it, dark or Dutch-process cocoa still gives you a rich chocolate flavor.
Do I have to use coffee in the cake?
Nope, but it really makes the chocolate shine. You won't taste the coffee, promise. If you're set on skipping it, hot water is a fine replacement.
How do I keep my cake layers from sticking?
Butter your pans, line the bottoms with parchment, then butter again and dust with cocoa powder. This is the trifecta for clean cake releases-no drama, no chunks left behind.
Can I make this cake ahead of time?
Absolutely. The cake layers can be baked a day ahead, and the frosting can be made and stored in the fridge too. Just bring everything to room temperature before assembling.
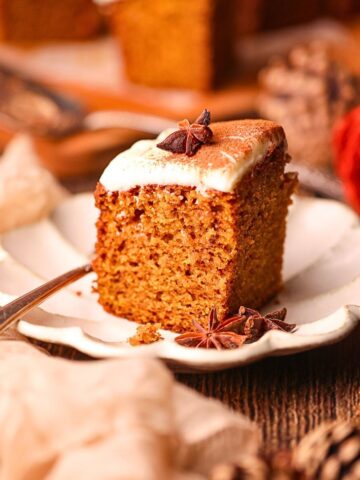
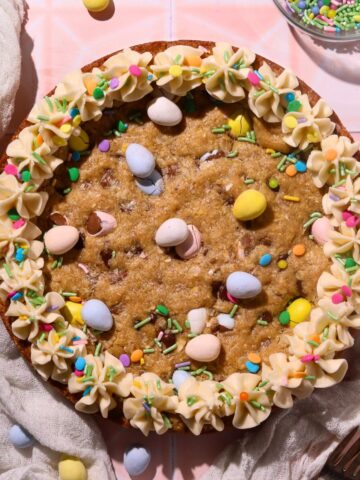
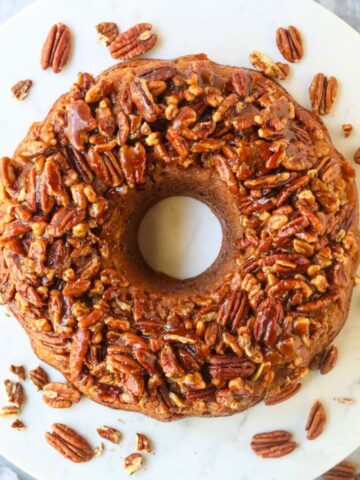
More Delicious Cake Recipes To Try!

"For we are God's handiwork, created in Christ Jesus to do good works, which God prepared in advance for us to do."
Ephesians 2:10
If you tried this Moist Chocolate Peanut Butter Layer Cake recipe, leave a comment and ⭐️⭐️⭐️⭐️⭐️ rating below! Don't forget to tag @thepinkowlkitchen on Instagram with your creations.
📖 Recipe
Moist Chocolate Peanut Butter Layer Cake
Ingredients
For Cake Layers
- 2 cups cake flour - sifted
- 2 cups granulated sugar
- 1 cup black cocoa powder - sifted, or dark/Dutch-process cocoa powder
- 2 teaspoons baking powder
- 1 teaspoon baking soda
- ⅛ teaspoon salt
- 1 cup buttermilk
- ½ cup vegetable oil
- 2 large eggs - room temperature
- 1 teaspoon vanilla extract
- 1 cup hot brewed coffee
For Peanut Butter Frosting
- 1 cup unsalted butter - softened
- 1 cup creamy peanut butter - no-stir recommended
- 3 cups powdered sugar
- 1 teaspoon vanilla extract
- ½ teaspoon salt
- 2 to 3 tablespoons buttermilk - or milk
Instructions
- Preheat your oven to 350°F (175°C). Grease two 9-inch round cake pans with butter, line the bottoms with parchment paper, and butter the parchment. Dust the pans lightly with cocoa powder and tap out the excess.
- In a large mixing bowl, whisk together the cake flour, sugar, cocoa powder, baking powder, baking soda, and salt until evenly combined.
- In a separate bowl, whisk together the buttermilk, oil, eggs, and vanilla extract until smooth.
- Pour the wet mixture into the bowl of dry ingredients and mix gently with a rubber spatula until mostly combined. Then slowly stir in the hot coffee. The batter will be thin. this is normal.
- Divide the batter evenly between the prepared cake pans. Smooth the tops and bake for 25 to 30 minutes, or until a toothpick inserted in the center comes out clean. Let cakes cool in the pans on a wire rack for at least 1 hour.
- In a stand mixer (or using a hand mixer), beat the butter and peanut butter on medium speed until creamy and fully combined, about 2 to 3 minutes.
- Reduce the mixer to low and slowly add the powdered sugar, about ⅓ cup at a time. Scrape the sides of the bowl as needed. Mix in the vanilla extract and salt.
- Add 2 tablespoons of buttermilk (or milk) and mix on low speed. Add an extra tablespoon if needed for a soft, spreadable texture. Beat on high for 30 seconds until light and fluffy.
Notes
- Use room-temperature ingredients for the batter and frosting. Cold eggs and butter don't mix well and can mess with the texture.
- Don't skip the coffee. Even if you're not a coffee drinker, it doesn't make the cake taste like coffee-it just makes the chocolate taste deeper and richer.
- Trim your cake layers. A quick level with a serrated knife makes stacking so much easier and helps your final cake look clean and professional.
- Crumb coat first. That thin first layer of frosting is a game-changer. It catches all the loose crumbs so your final layer goes on super smooth.
- Chill the cake before final frosting. This gives everything a chance to firm up a bit and makes decorating way easier.
- At room temp: Leave it covered on the counter for a day or two if your kitchen isn't too warm.
- In the fridge: Wrap it well or store in a cake container, and it'll keep for about 4-5 days. Just let it sit out for 20-30 minutes before serving so the frosting softens up again.
- Freezing: You can freeze the frosted or unfrosted cake. Wrap the layers tightly in plastic wrap and foil, then pop them in the freezer for up to 2 months. Thaw overnight in the fridge, then bring to room temp before serving.
Rebecca L Madden
This cake is a total knock-out. The cake is deep and rich and moist and delicious without being cloyingly too sweet. The batter goes in very wet, and mine took a bit longer to cook- more like 40 minutes. The icing is absolutely divine peanut butter heaven, and since I live in a hot climate the butter was very soft so I did not need to add the buttercream
Ashley Boyd
I'm overjoyed you loved the cake! It is one of my favorites also. Peanut butter heaven is a very accurate description 😁. Thank you for the kind comment.